


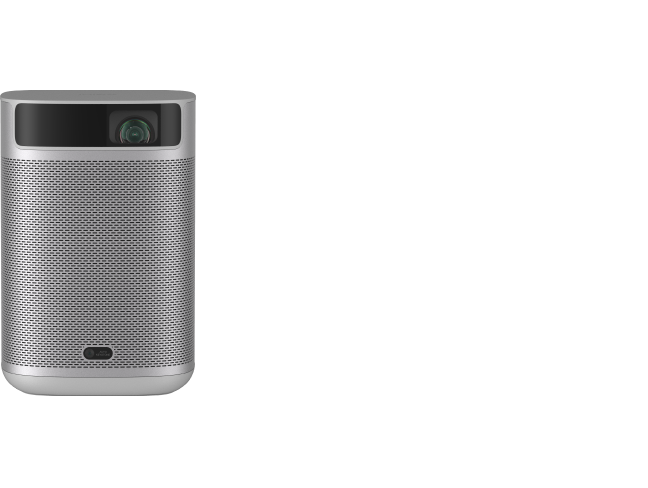


MoGo Pro+
User Guide
Download Manual Document
Warranty Status
Check your product warranty
User Guide
Download Manual Document
Warranty Status
Check the warranty of your product
Troubleshooting & Support


User Guide
MoGo Pro+ Manual-English V1.0
2022/8/12 | 1.18 MB | English
MoGo Pro+ Manual-French V1.0
2022/8/12 | 1.11 MB | French
MoGo Pro+ Manual-German V1.0
2022/8/12 | 1.16 MB | German
MoGo Pro+ Manual-Japanese V1.0
2022/8/12 | 1.5 MB | Japanese
MoGo Pro+ Manual-Spanish V1.0
2022/8/12 | 1.1 MB | Spanish
Firmware
Halo Manual-English V1.0
2022/8/12 | 1.23 MB | English
Halo Manual-French V1.0
2022/8/12 | 1.29 MB | French
Halo Manual-German V1.0
2022/8/12 | 1.36 MB | German
Halo Manual-Japanese V1.0
2022/8/12 | 1.48 MB | Japanese
Halo Manual-Spanish V1.0
2022/8/12 | 1.38 MB | Spanish
Get Support from Us
Hours of operation (Central time): from 9:00am to 9:00pm during Monday to Sunday
Call Us
Please tell us your issue
Live Chat
What can we help with?
Email Us
Tell us how we can help
Can't reach us above? Contact our team directly at service-usa@xgimi.com.
Which devices do you need help with
Get support, find answers, download drivers, manuals, and more!

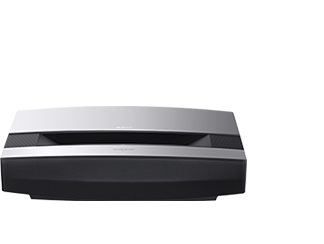
AURA

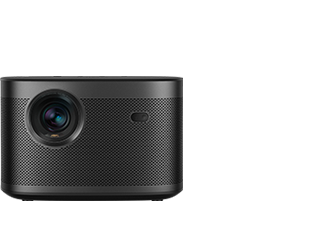
HORIZON Pro

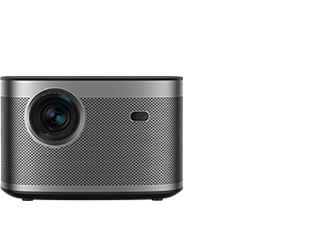
HORIZON

Elfin

H2

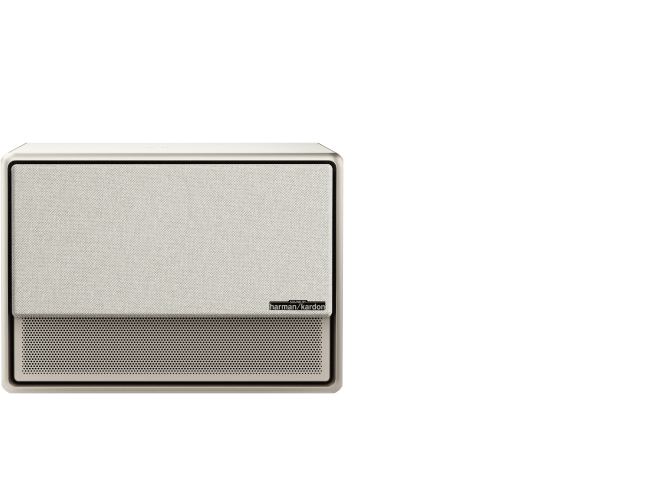
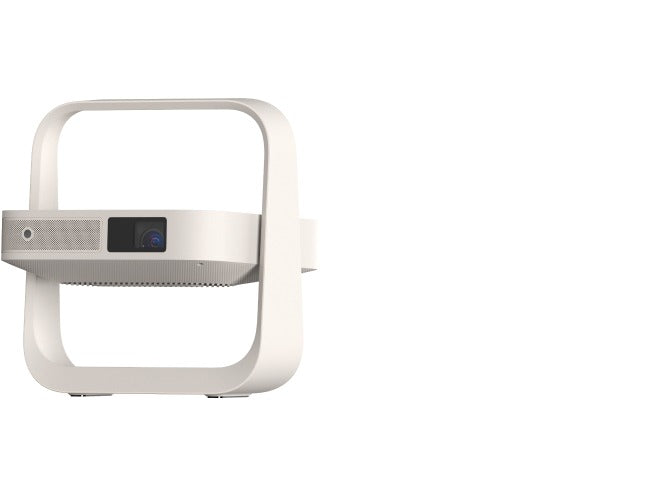
Halo+

Halo

MoGo Pro+

MoGo Pro

MoGo

MoGo 2 Pro

MoGo 2

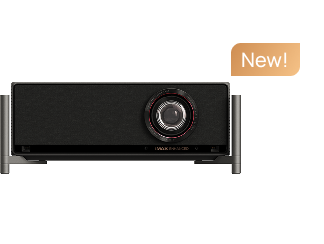
HORIZON Ultra

MoGo 3 Pro

Elfin Flip
")
Halo+ ( New)

AURA 2

MoGo 2 Plus

HORIZON S Pro

HORIZON S Max

$70
OFF
$45
OFF